How to Paint a Room Like a Pro (Even If You’re Not One) ?
In the realm of home improvement, few tasks are as satisfying as transforming a room with a fresh coat of paint. Whether it’s adding a splash of color or refreshing a neutral tone, painting is a skill you can master with the right guidance. Today, we delve into the art of painting walls like a professional, ensuring that every brushstroke counts. This article will guide you through each step, from selecting the right tools to achieving that perfect finish, making your room look as if done by an expert. So grab your roller and tape, and let’s fill your space with color!
Preparation is Key: Setting the Stage
Before you even open a can of paint, the preparation phase lays the groundwork for a successful outcome. The first step involves selecting the right color. Consider how different shades will transform the mood of your room and reflect your personal style. Once you’ve settled on a hue, it’s time to move onto the nitty-gritty of prepping your walls.
Clearing the Space: Start by removing furniture and accessories from the room. If moving them out isn’t feasible, group them in the center and cover with a drop cloth. This ensures your belongings remain clean and free from accidental paint splatters.
Wall Inspection: Thoroughly inspect the walls for any imperfections. Look for holes, cracks, or peeling paint. Use a filler to patch up these areas, ensuring a smooth surface for the paint to adhere to.
Taping Trim: Use painter’s tape to cover trims, windows, and fixtures. This is crucial for achieving crisp lines and preventing paint from smudging onto surfaces you don’t want colored.
Cleaning: Finally, give the walls a good wipe down with a damp cloth. Dust and grease can prevent paint from sticking properly, so a clean surface is vital for a professional finish.
The Art of Painting: Tools and Techniques
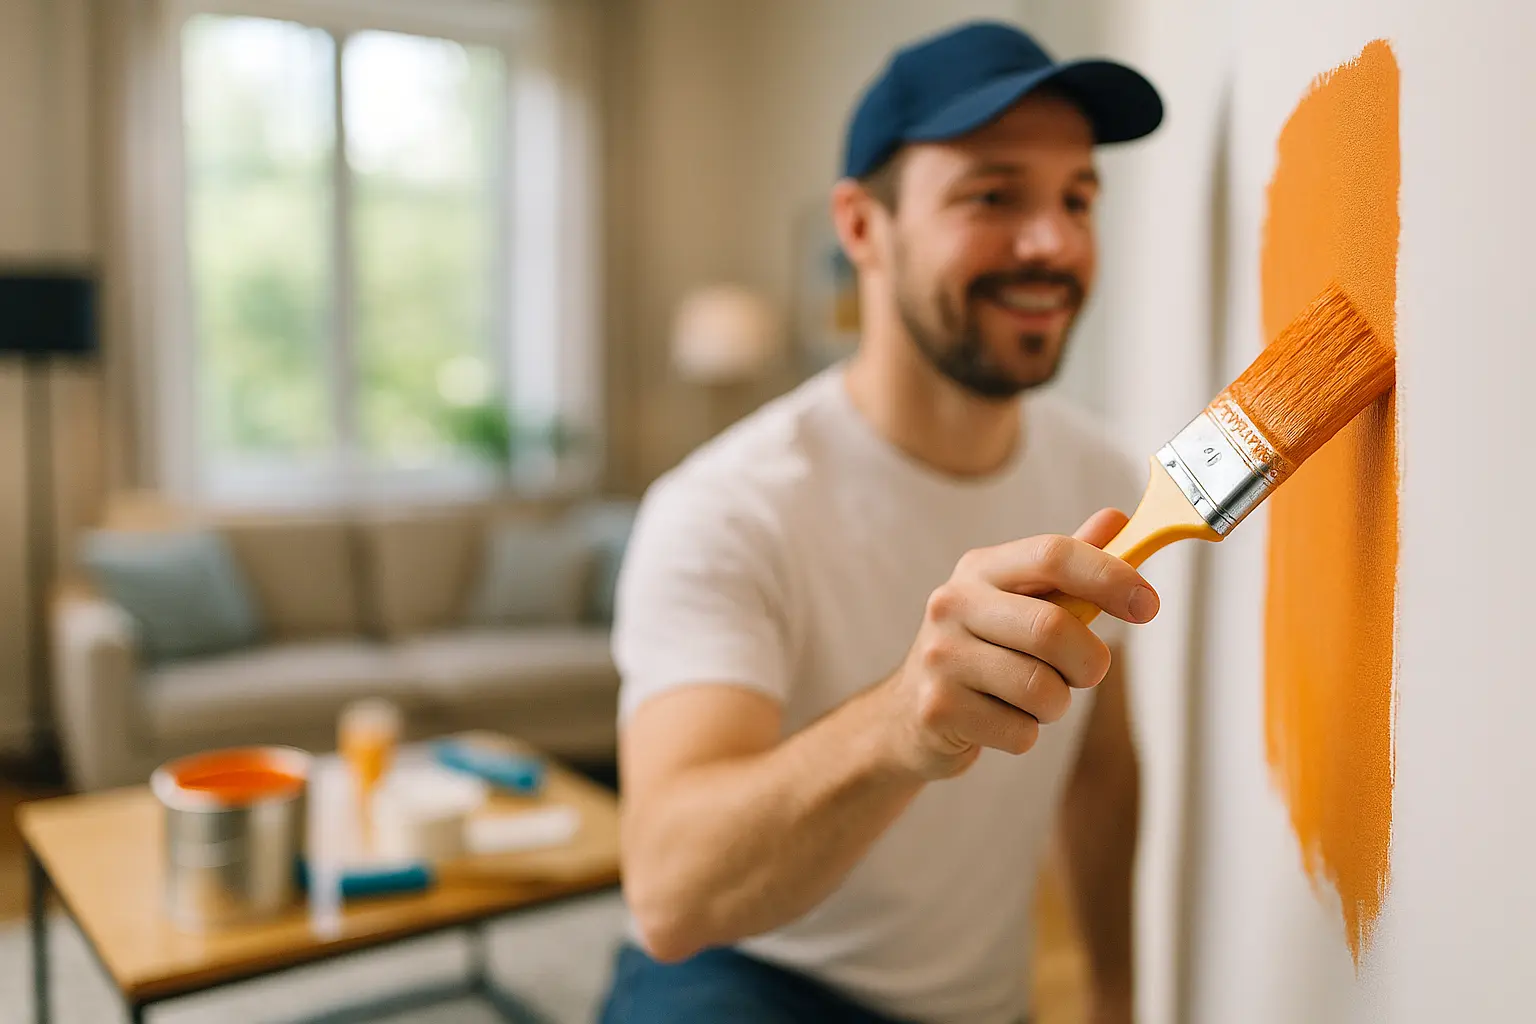
With your room prepped and ready, it’s time to dive into the painting process itself. The first decision you’ll face is selecting the right tools. For large wall areas, a roller is your best friend, while a brush is ideal for edges and trim.
Choosing Your Tools: A quality roller will help you apply paint evenly and quickly across large surfaces. Opt for a synthetic blend roller cover for water-based paints and a natural one for oil-based paints. For edges and corners, invest in a good angled brush.
Mastering Technique: Start with the edges using your angled brush. “Cutting in” will give you a neat border around trims and ceilings. Then, use the roller to fill in the rest of the wall. Apply the paint in a ‘W’ pattern to ensure even coverage and avoid streaks.
The Layering Process: Applying multiple coats is often necessary for a smooth, even finish. Allow each coat to fully dry as per the manufacturer’s recommended time before applying the next. Remember, the first coat doesn’t have to be perfect, but the final one should be flawless.
Finishing Touches: The Professional’s Secrets
Once you’ve painted the walls, the final phase involves intricate details that elevate your work from amateur to professional.
Inspecting and Touch-Ups: After allowing the final coat to dry, inspect the work under different lighting conditions. Look for any imperfections and address them with a touch-up. A small brush works well for fixing smudges or missed spots.
Removing Tape: Remove the painter’s tape carefully to avoid peeling off any paint along with it. Doing this while the paint is still slightly tacky helps achieve clean lines.
Cleaning Up: Don’t forget to thoroughly clean your brushes and rollers for future use. Latex paints can be washed out with warm soapy water, while oil-based paints require mineral spirits.
Admire Your Work: Stand back and admire the transformation of your room. You’ve successfully painted like a pro, imbuing your space with a fresh lease on life.
Congratulations! You’ve transformed your walls with the meticulous care of a professional painter. While the process requires patience and precision, the end result is well worth the effort. Now, your room exudes a new personality, reflecting your taste and hard work. Remember, each brush stroke was not just about paint, but a step toward creating an atmosphere that you’ll cherish every day. So, let’s toast to the power of a roller, a brush, and a little trim of creativity in elevating your home.
FAQ
What is the first step in preparing a room for painting?
The initial step is to clear the room of furniture and cover the floors with drop cloths. This helps prevent any paint spills or splatters on your belongings and floors.
How should I handle imperfections on the walls before painting?
Begin by filling any holes or cracks with spackle or a similar filler. Once dry, sand the areas smooth to ensure a flat surface. Wipe down the walls with a damp cloth to remove dust and debris.
What type of paintbrushes and rollers should I use for a professional finish?
For the best results, use high-quality brushes and rollers. A 2- to 2.5-inch angled brush is great for cutting in, while a 9-inch roller with a 3/8-inch nap is ideal for smooth surfaces.
How can I ensure that the color is applied evenly across the walls?
Apply a coat of primer before painting, especially if you’re covering a dark color or painting new drywall. When painting, use a ‘W’ or ‘M’ motion with your roller, and overlap each stroke to avoid streaks.
What is the best way to finish the edges and corners of a room?
Use an angled brush for precision when painting edges and corners. Tape off adjacent surfaces with painter’s tape for clean lines, and remove the tape while the paint is still wet to prevent peeling.