How to Build a Floating Shelf in Under an Hour ?
In an era where aesthetics and practicality go hand in hand, floating shelves have emerged as the perfect blend of form and function. They not only save space but also add a dash of modern elegance to any wall. Whether you are looking to display your favorite books or a piece of art, these shelves can do the job with style. The best part? With the right materials and a step-by-step guide, you can construct your own floating shelf in under an hour. Let’s delve into the world of DIY and explore how you can transform a simple piece of plywood into a stunning shelf.
Gathering Your Materials and Tools
Before we embark on this exciting project, let’s ensure we have all necessary materials at hand. The backbone of this DIY project is a sturdy piece of plywood. Choose a thickness that suits the weight you intend the shelf to bear, ensuring longevity and stability.
For a sleek and modern look, a coat of white paint can work wonders, complementing any room decor. If a natural wood finish is more to your taste, a good quality clear varnish will protect and enhance the grain of the wood.
Essential Tools:
- Drill with a correct-sized bit for making anchor holes.
- Screws that are long enough to penetrate the wall studs securely.
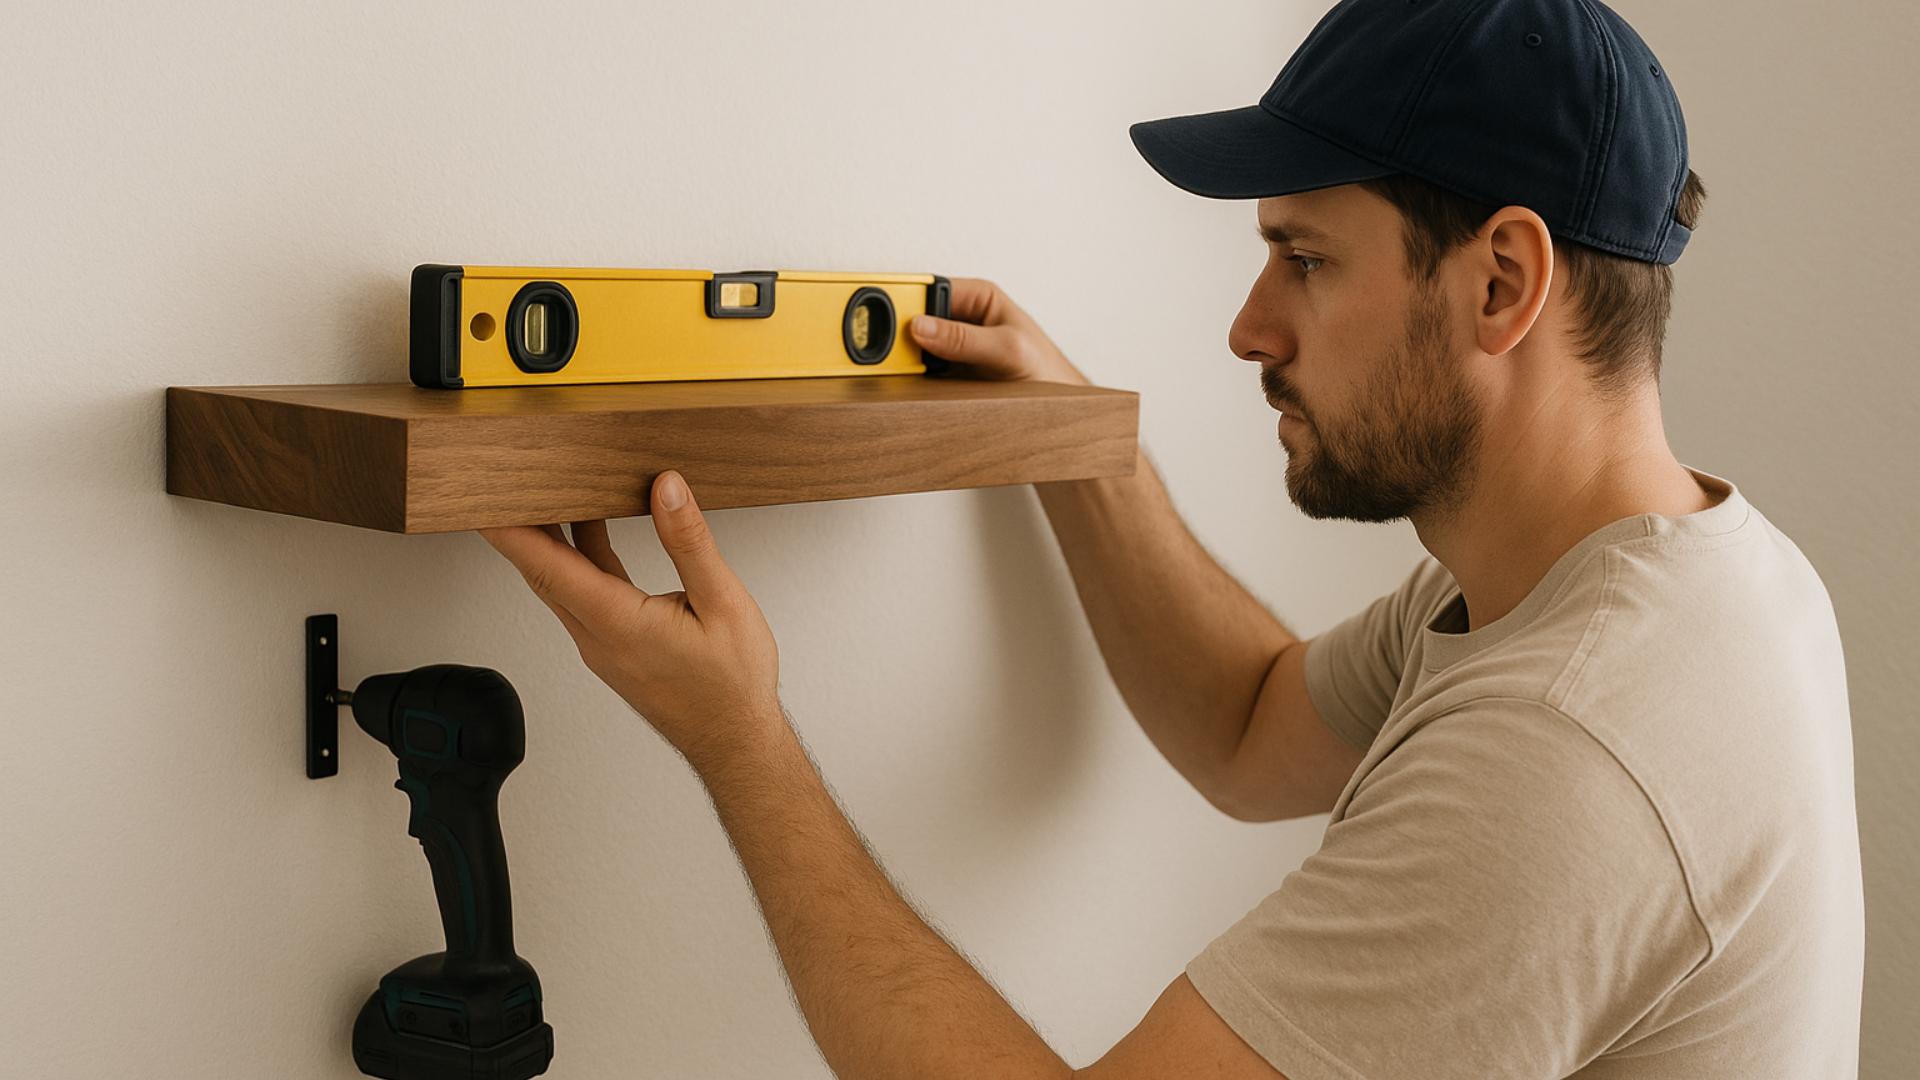
- Level to ensure your shelf is perfectly horizontal.
- Measuring tape to mark accurate points on the wall.
- Saw or a pre-cut piece of plywood to desired dimensions.
- Sandpaper for smoothing the wood surfaces.
With all these tools ready, and a clear vision in mind, you can move forward with confidence, knowing you’re equipped to create something spectacular.
Preparing Your Wall and Shelf
The key to mounting a secure floating shelf lies in identifying the wall studs. These are the structural bones that will bear the weight of your shelf, ensuring it stays firmly in place. Use a stud finder to locate these, and mark the points where your screws will go.
Next, prepare your plywood by sanding it until smooth. This ensures the paint or varnish adheres perfectly. Once sanded, apply your chosen finish and allow it to dry completely.
Seamless Installation Steps:
- Mark your drill points: Using the level and measuring tape, mark where the shelf will be positioned. Double-check to make sure your marks are even.
- Drill pilot holes: A small drill bit can be used to create these, making it easier to insert the screws.
- Insert the screws: Securely drill the screws into the studs, ensuring they protrude slightly to support the shelf.
- Mount the shelf: Carefully align the plywood onto the screws, pushing it into place. If done correctly, the screws should fit snugly into place, giving the appearance of a shelf floating effortlessly.
With these steps completed, take a moment to admire your handiwork. Your shelf is now ready to be adorned with whatever your heart desires. {image_content}
Creative Ways to Style Your Floating Shelf
A floating shelf is more than just a storage solution; it’s a canvas on which you can express your personality. How you choose to style it can transform a simple room into a vibrant space that reflects who you are.
Ideas to Bring Your Shelf to Life:
- Books: Arrange a selection of your favorite reads, alternating between vertical and horizontal stacks for a dynamic look.
- Artwork: Use the shelf as a miniature gallery, displaying small framed prints or photographs that bring joy and inspiration.
- Greenery: Add a touch of nature with small potted plants. Succulents or trailing vines can add life and freshness.
- Collectibles: Whether it’s vintage cameras or sea shells from your travels, display items that hold personal significance.
Remember to balance the items both in terms of style and weight, ensuring that everything is stable and maintains the integrity of the shelf. The beauty of a floating shelf lies in its flexibility and potential for creativity.
With the completion of your floating shelf, you have not only added a functional piece to your home, but have also imbued it with your unique style. This project is a testament to what can be achieved with simple materials and a bit of ingenuity. The ability to build and customize your shelves unlocks a world of potential, allowing every room to reflect your vision. We hope this guide inspires further creativity and a love for DIY projects, proving that the best solutions are often those we create ourselves. Join us in embracing the elegance of a floating shelf, and let your walls tell your story.
FAQ
What materials are needed to build a floating shelf?
To construct a floating shelf, you’ll require a wooden board, a shelf bracket or hidden bracket system, screws, wall anchors, a drill, a level, and a tape measure.
How can I ensure that my floating shelf is level during installation?
Use a level to draw a straight line on the wall where you intend to mount the shelf. Align the bracket with this line and double-check its accuracy before securing the screws.
What is the recommended spacing between brackets for a sturdy shelf?
Typically, brackets should be spaced no more than 24 inches apart to ensure the shelf remains stable and can support weight effectively.
How can I locate the best area on the wall to install the shelf?
Identify wall studs using a stud finder, as they provide the strongest support for your shelf. Mark these locations before beginning the installation process.
What steps should be taken if the wall surface is uneven?
If the wall is uneven, use shims behind the brackets to maintain the shelf level. Adjust as necessary until the shelf is flat and secure.